


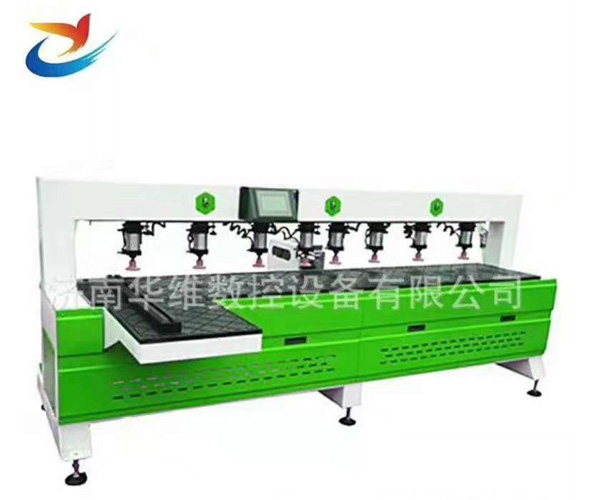
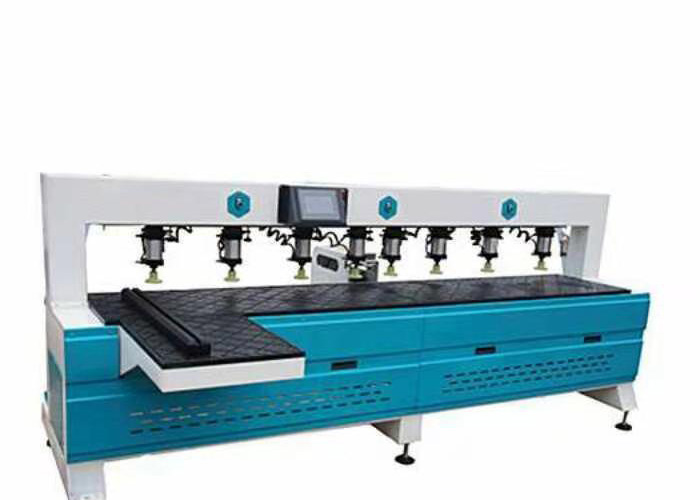
The fixing method of the side hole machine is as follows:
1. Adjust the bracket according to the actual situation to ensure stability and firmness. It is necessary to ensure that the distance between the machine and the wall is moderate and stable without shaking. At the same time, the issue of ventilation and heat dissipation should be considered. If conditions permit, it is recommended to use angle iron as a long strip to tightly clamp the equipment; Alternatively, use expansion screws to firmly fasten the four parts of the host to a steel frame parallel to the wall (which must be made of sturdy and durable materials). This is both safe, effective, and convenient for disassembly and assembly (factories often do this). You can also use tools such as tripods to further expand the fixed area and improve stability. It should be noted that if the wall is not made of solid bricks or cement structure, special reinforcement treatment may be required to ensure the installation quality of the equipment is protected from various problems caused by wind, rain, and sun exposure.
2. After determining the position, insert the positioning pin into the body first, and then assemble the other parts of the mold to complete the assembly. Check if all bolts are securely fastened, clean up any debris on site, turn off the power, and do a good job of dust protection before finishing work.. Generally speaking, the above steps are sufficient to keep your robot in its predetermined position, unless there is external force moving it or changes in the environment require some debugging operations. The above information is for reference only and depends on different models and actual construction situations! I suggest you consult with personnel for their opinions